As a part of Jayde and Til's Storytelling workshop early in the module, we were briefed to choose a short piece of written work like a song, poem or short story and create a visual narrative in response to it. I chose H.P Lovecraft's short story 'The Rats in the Walls', and I decided I wanted to respond to it through a 3D model. At this point in the module, I already knew I wanted to work with 3D media, and I was interested in creating miniatures and dioramas, so I thought this could be a good opportunity to experiment with some different media and techniques that I could use later in my project.

I started by looking at the text and picking out key exerpts that contained detailed visual descriptions. I quickly decided that this model was only going to visually represent a key scene or general theme of the story, as the text is far too long to retell in it's entirety for a workshop exercise; so I settled on the idea of a two 'panel' narrative, with the model taking the form of two rooms portraying contrasting scenes from the narrative. I think this represents the story quite well as it attempts to capture the unease and terror of this horrible scene laying underneath the main character's home without his knowledge.

Once I'd decided on the 'storyboard' as such, I started to think about the visuals and aesthetic choices that would best fit this narrative. I'd recently become fond of the work of Harry Clarke and so took some aesthetic inspiration from him, particularly his ink drawings for the Edgar Allen Poe compilation 'Tales of Mystery and Imagination'. These drawings inspired some of my later print choices, as well as the overall design of my character model.
Right from the start of the workshop I was also thinking about materials I could use. Once I'd begun to design my character, I thought about the best way to fabricate him; I messaged a friend of mine who works in stop-motion animation for any advice on scultping and modelling materials and he suggested using Sculpey for the finer details like faces and hands, so I first gave this a try.
I made a 2D mask-like model of a face to practice and found that it worked really well. I then painted this practice model to start experimenting with colour schemes. I was considering having the character model be monochromatic, partly as a reference to Harry Clarke, but also as a practical choice to make him stand out better against what may end up being a busy background of prints.
After this I moved onto the structure of the diorama. I marked up my measurements on sheets of greyboard and cut out pieces with marked notches so I could slot them together in the L-shape I had designed.
I also cut extra pieces to create a hollow wall and basement effect on one side of the model; I liked the idea of having cobwebs and rats running up the inside of the small gaps. I the covered the whole model in paper mache and painted it black to have a solid, even surface to build onto.
The first interal structure I built was the staircase on the bottom floor; I used scrap pieces of foam I found in scrap-bins on campus and glued them into place. I didn't worry too much about uniformity as the description of this staircase in the story tells us that it is aged and worn beyond use.
I also built a pillar out of foam and a toilet roll tube, and small pieces of rubble out of the off-cut foam pieces from the staircase.
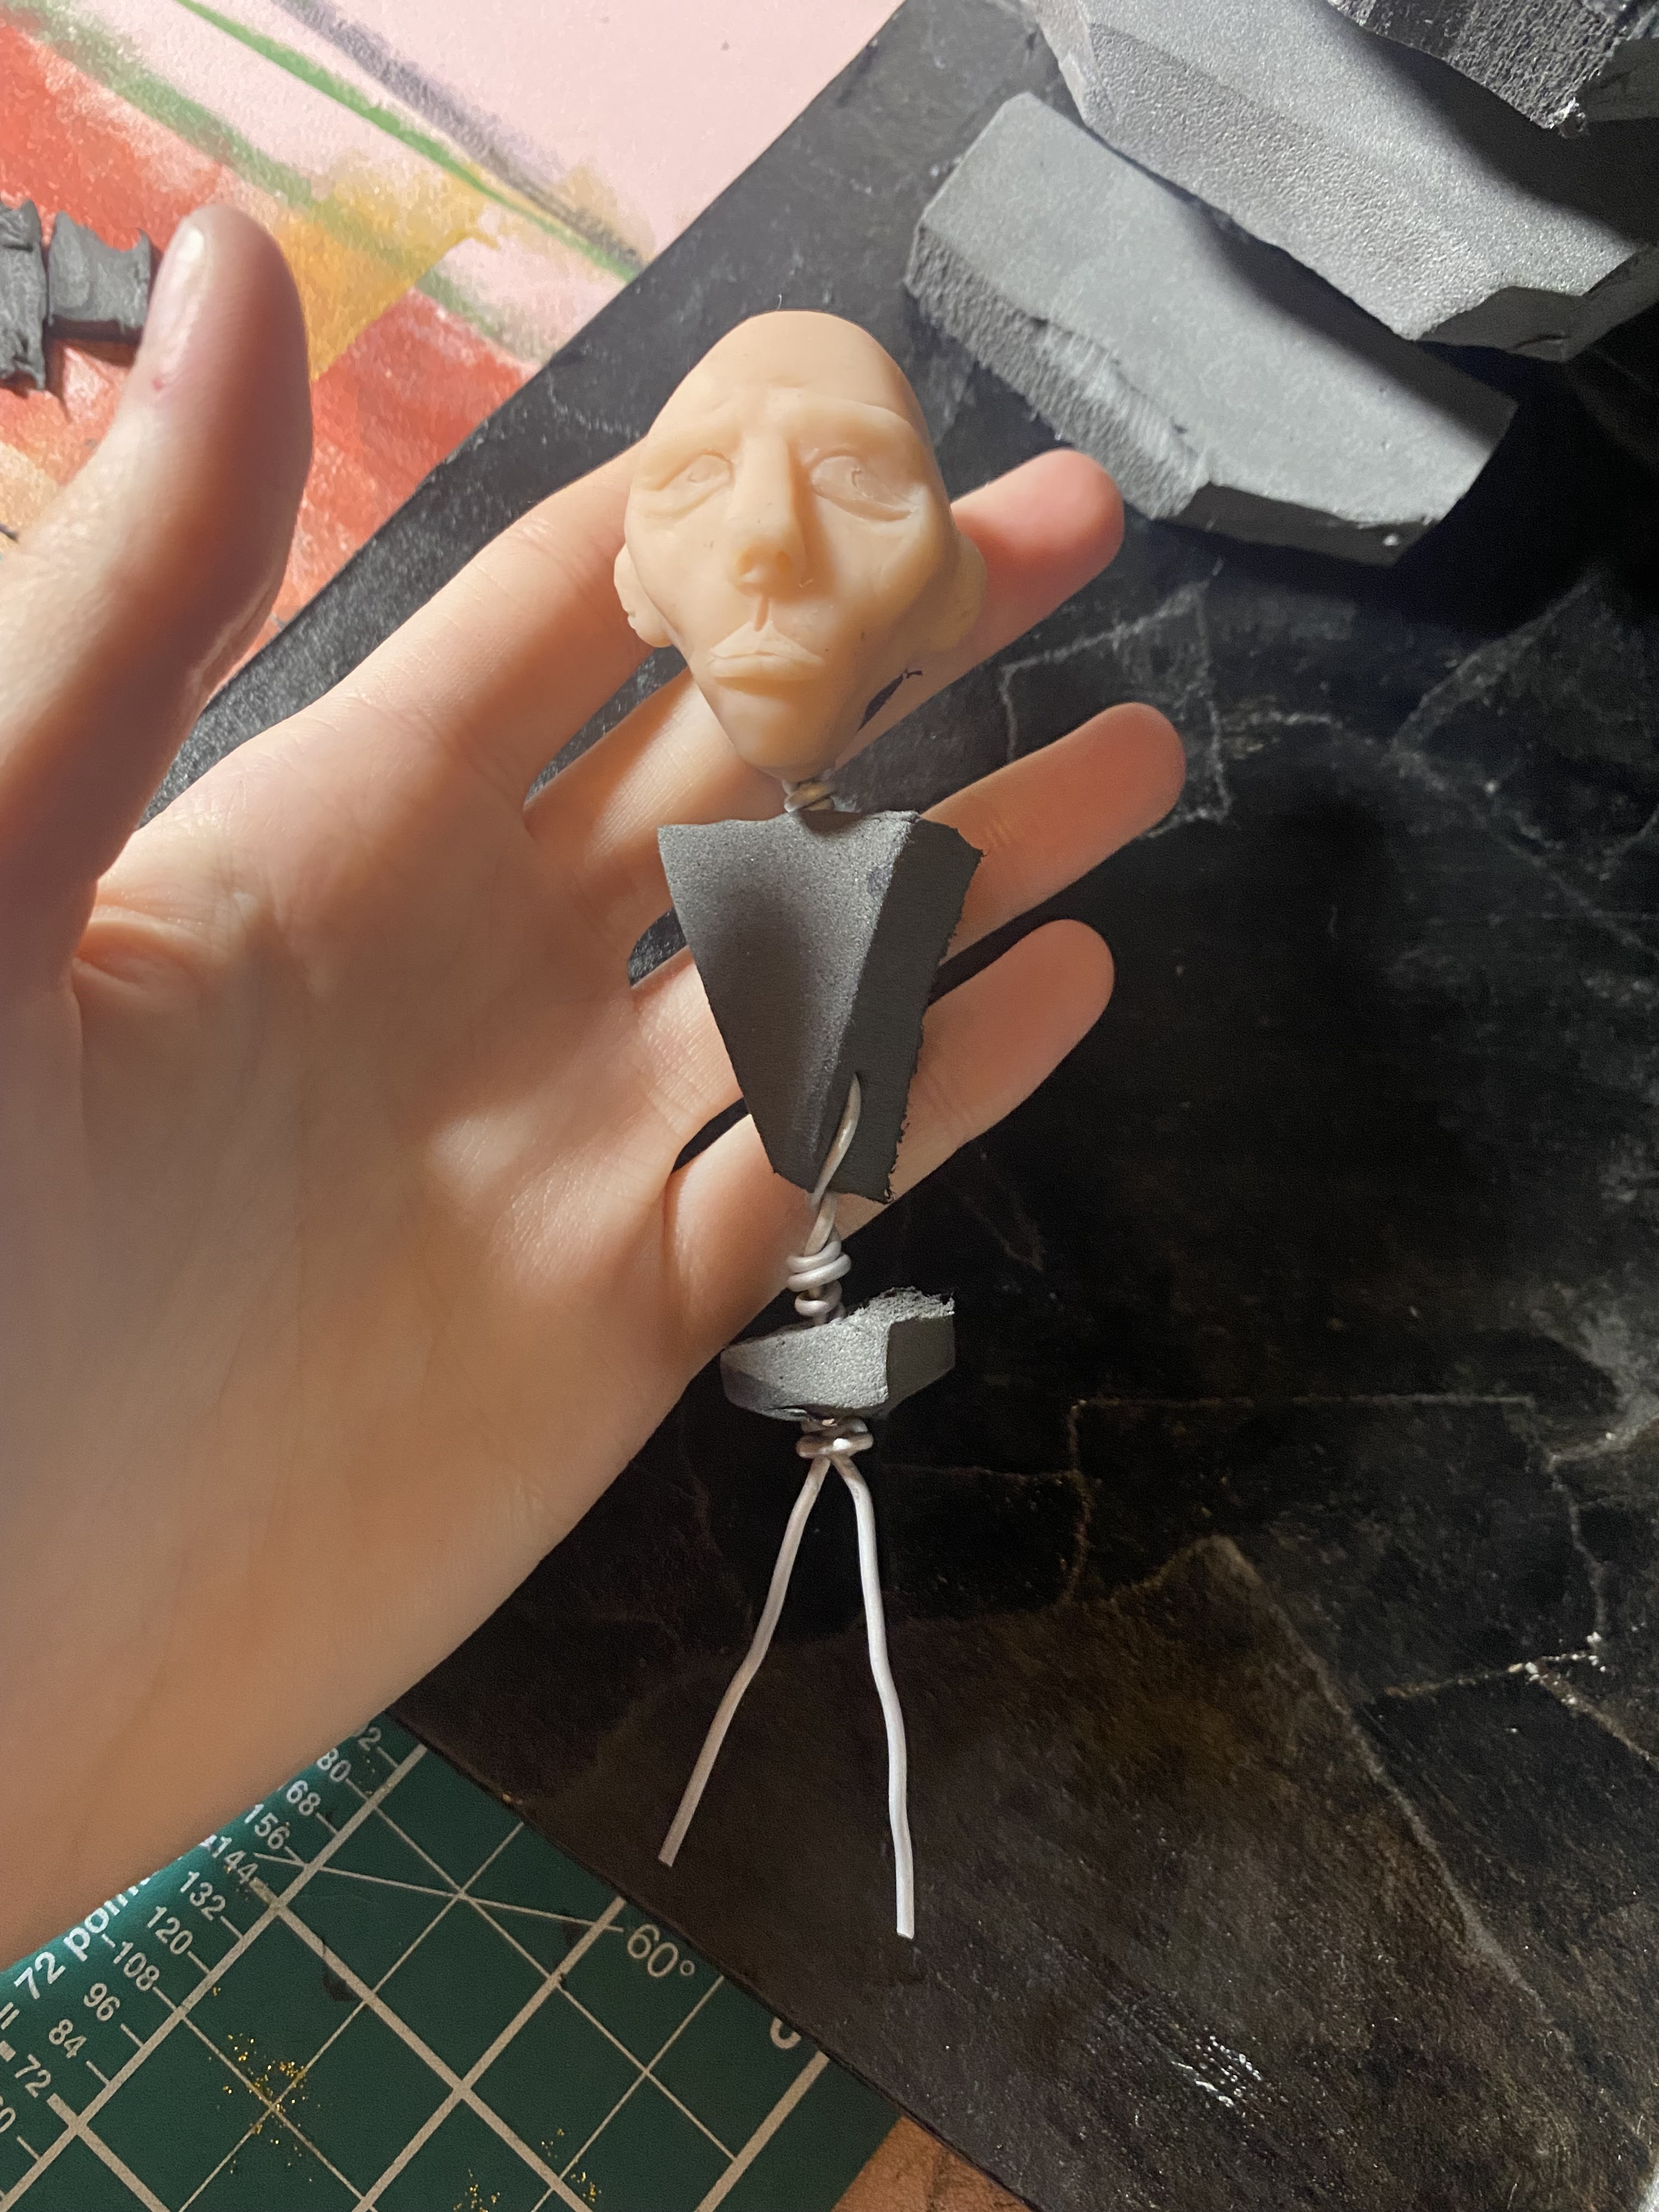
I also began working on the character model again. I sculpted the head out of sculpey how I had done previously, but this time creating a back of the head with a gap large enough that the head could be slotted over a piece of foam once it had been cured in the oven.
I built the body out of foam and armature wire so the figure was light enough to stand up unsupported and also posable, as I was unsure of exactly how I would position the figure within the scene.
With the base of the body built I then just sculpted some details like hair onto the head, made some hands that the armature wire could slot into, and made his little outfit and shoes. I was overall happy with how he turned out.
I then moved onto adding detail to the structure; starting with the bottom floor, I'd seen someone online using cut-up egg cartons a nursery plant pots to make a stonework effect, so I thought I would test that out here. I found it to be very effective, especially after being painted and dry-brushed, it gave the exact effect I wanted of aged stone.
After painting, I added details like vines and tufts of grass and moss, as well as some markings and symbols that somewhat matched the ones described in the story.
As for the upstairs, I used a William Morris print wrapping paper as wallpaper, and cut up and painted lollipop sticks for the floorboards and skirting boards. Then I added in furnishing like curtains, paintings and a little bit of furniture. I painted the figure black and white, partially inspired by Harry Clarke, but also for the practical reason that he would stand out better against the bold patterns on the walls.
I added the final details to the bottom floor; i made some bones and skulls out of sculpey and air-dry clay, and then used cotton wool to imitate cobwebs. I also needle-felted a couple of little rats to hide amongst the bones.
Overall I'm really happy with how the piece turned out and I'm glad I spent the time developing it as it really helped me further my skills with miniatures and 3D working; I picked up a lot of techniques and ideas that I went on to use in my final outcome too, so this was a really useful exercise for me.


Comments
Post a Comment